How To Use aXount: Staffing Calculator
A step-by-step guide to help you get the most out of our staffing calculator
Getting Started with the Staffing Calculator
Step 1: Sign In Through Portal
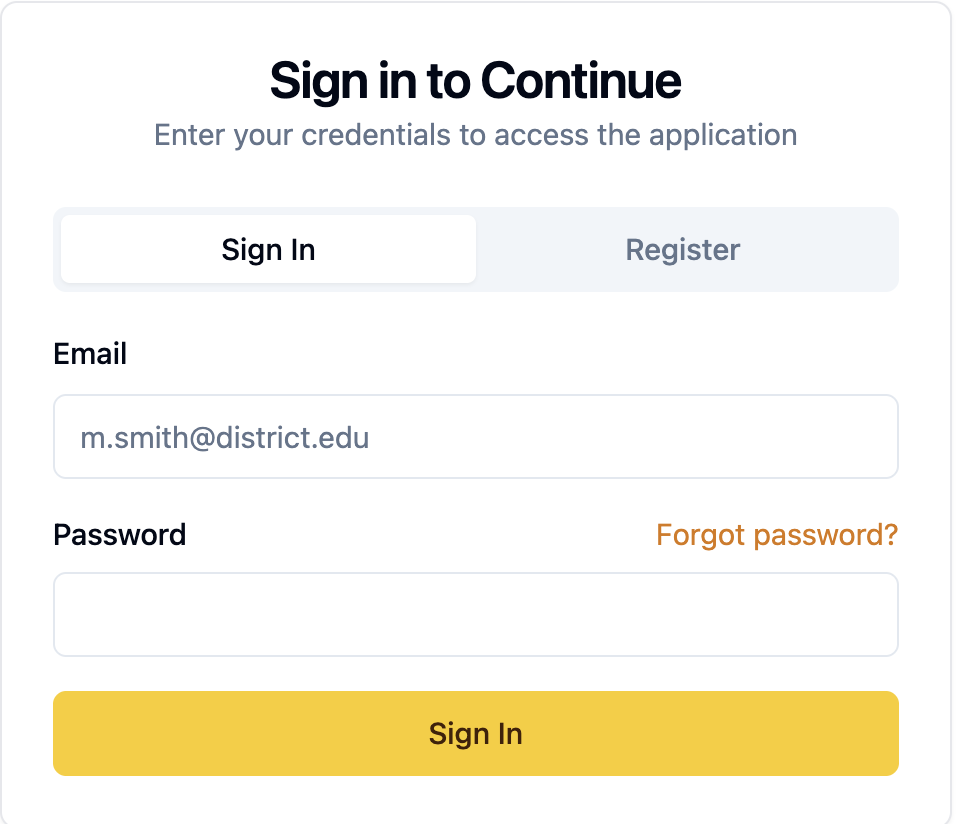
Begin in the Portal sign-in experience. Use the "Sign In" button from Staff Calculator and complete authentication in Portal, which then returns you to the Staff Calculator dashboard.
Step 2: Access the Dashboard
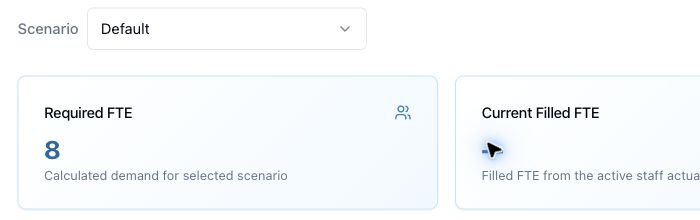
After logging in, you'll be directed to the Dashboard. Use the scenario selector to choose an existing staffing scenario or create a new one before entering planning data.
Note: District, building, account, and subscription edits are managed in Portal. Staff Calculator focuses on scenario planning, staffing inputs, imports, results, reports, and custom positions.
Step 3: Navigate the Dashboard
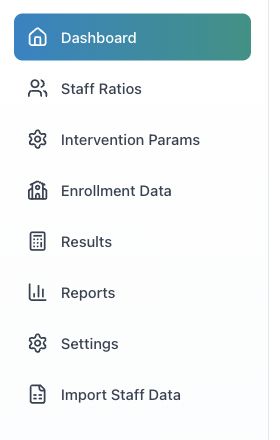
Familiarize yourself with the Dashboard, which provides an overview of your district's key metrics and quick access to all major sections of the application. The sidebar menu allows you to navigate between different features.
- Dashboard: Overview and quick access to key metrics
- Staff Ratios: Configure staffing ratios for all position types
- Intervention Params: Configure MTSS, EL, SLP, and teacher planning assumptions
- Enrollment Data: Enter scenario-specific enrollment and Students with Supports data
- Results: View required-vs-filled staffing needs, export PDF, and download staff actuals CSV
- Reports: Compare multiple scenarios with enrollment, FTE, and equity charts
- Settings: View account settings and manage gated district custom positions
- Import Staff Data: Upload current staff actuals for filled-FTE comparisons
Navigation: Building selection is preserved between dashboard pages that support it. Enrollment entry works building by building; Results also supports a District Overview view.